SwiftData 톺아보기
SwiftData와 친해져봅시다.
Core Data와 SwiftData
대부분 iOS 앱을 개발할 때 로컬 저장소로 애플의 first-party 프레임워크인 Core Data를 많이 사용합니다. Core Data는 데이터를 안정적으로 로컬에 저장할 수 있도록 다양한 기능을 제공해주지만, API 설계가 다소 복잡하게 이루어져 있어 기본적인 것 이상의 기능(ex. migration)을 구현하려 할 때 개발자에게 어려움을 주기도 했습니다.
쿼리는 string 형태로 작성 후 NSPredicate 객체를 통해 실행해야 하므로 코드의 안정성이 떨어지는 문제가 있었습니다. 또한 SwiftUI와의 연동성도 좋지 않아 SwiftUI와 함께 사용할 경우 필요 이상으로 코드를 복잡하게 만들기도 했습니다.
이에 따라 애플은 더 쉽게 로컬에 데이터를 저장할 수 있도록 하는 SwiftData를 공개했습니다.
SwiftData?
SwiftData는 WWDC2023에서 공개된 새로운 데이터 관리 프레임워크입니다. 기존의 Core Data, Realm 비슷한 개념으로, Swift를 사용해 더 쉽게 데이터를 관리할 수 있고, 무엇보다 SwiftUI에 최적화되어있습니다.
SwiftData는 Cloud Kit, Widgets에서도 사용할 수 있습니다.
SwiftData는 iOS 17 이상, macOS 14 이상, watchOS 10 이상에서 사용 가능합니다.
시작하기
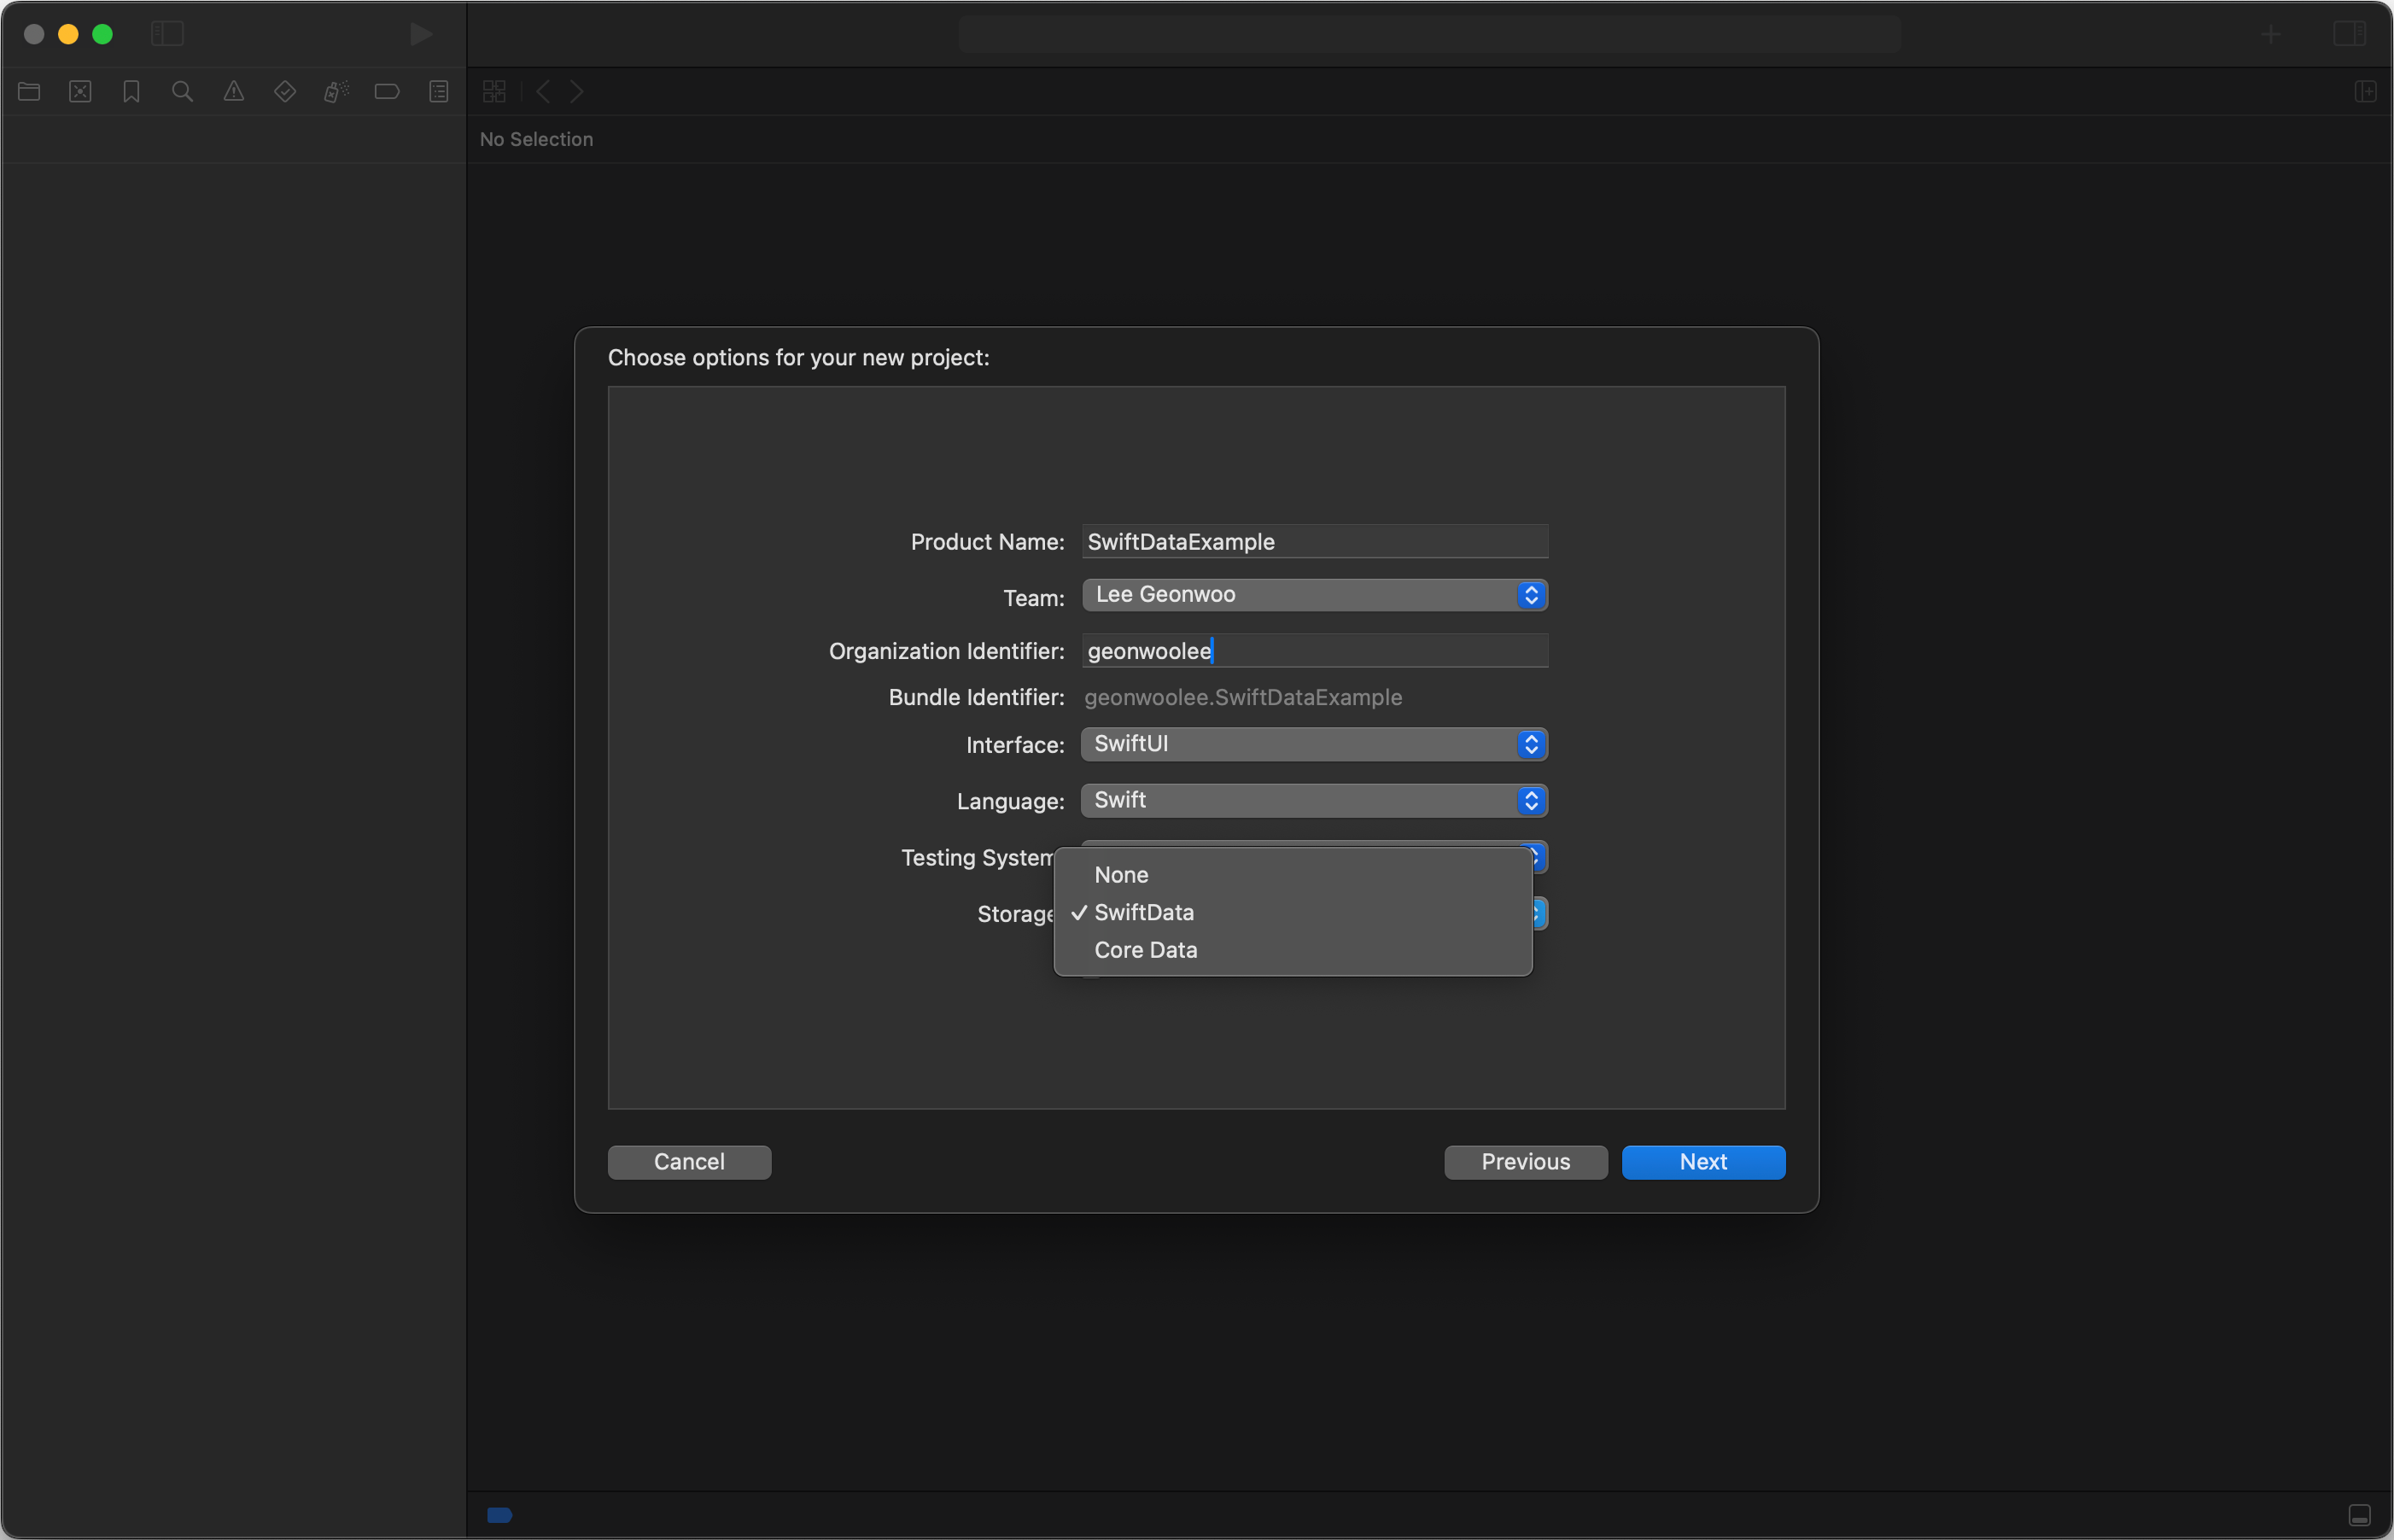
SwiftData를 사용하기 위해서는 Xcode 15 버전 이상을 사용해야 합니다. 만약 Xcode 15 버전 이상을 사용중이라면, 사진과 같이 새 프로젝트 생성 창의 Storage 선택 항목에 SwiftData를 발견할 수 있습니다.
SwiftData를 기본으로 생성하면, Xcode가 친절하게 예제용 Item 모델과 이를 테스트할 수 있는 View를 그려주는데, 이를 바탕으로 사용법을 간단히 알아보겠습니다.
@Model
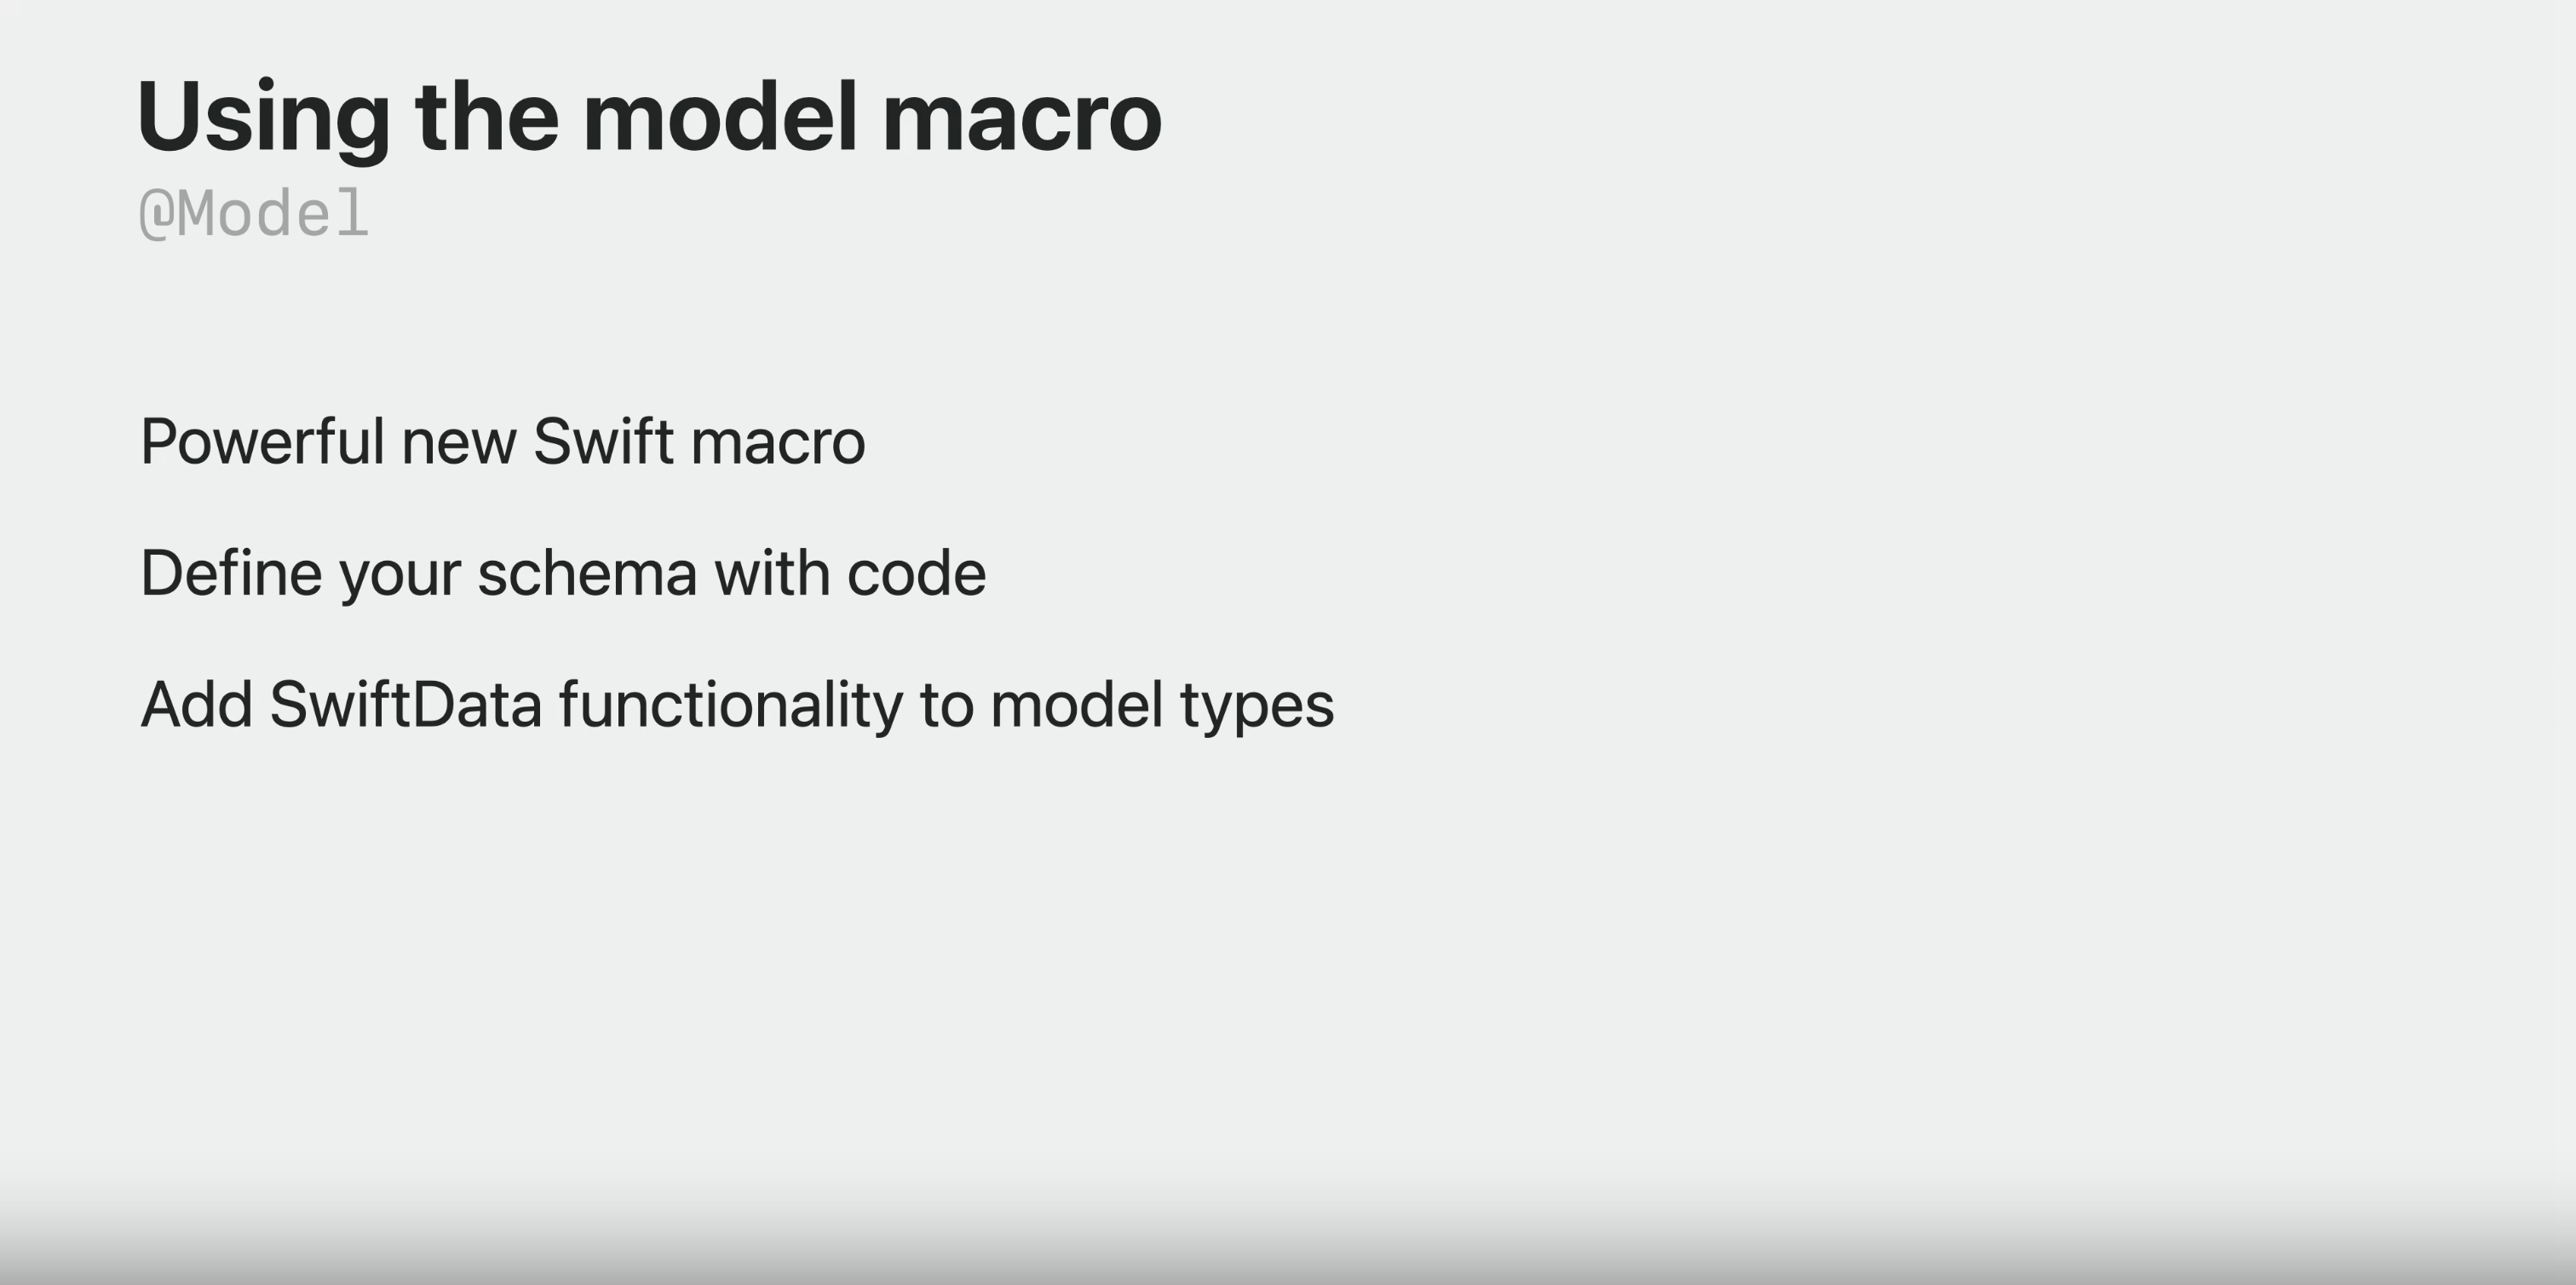
Core Data는 Data Model 파일에 모델을 작성했던 것과는 달리, SwiftData는 Swift의 새 기능, macro를 활용해 모델을 정의합니다.
SwiftData의 모델을 선언하려면 @Model 매크로를 사용합니다. ViewModel을 만드는 것 처럼 클래스를 작성해 굉장히 간단하게 스키마를 만들 수 있습니다.
1
2
3
4
5
6
7
8
9
10
11
import Foundation
import SwiftData

@Model // macro
final class Item {
    var timestamp: Date

    init(timestamp: Date) {
        self.timestamp = timestamp
    }
}
@Attribute(속성)
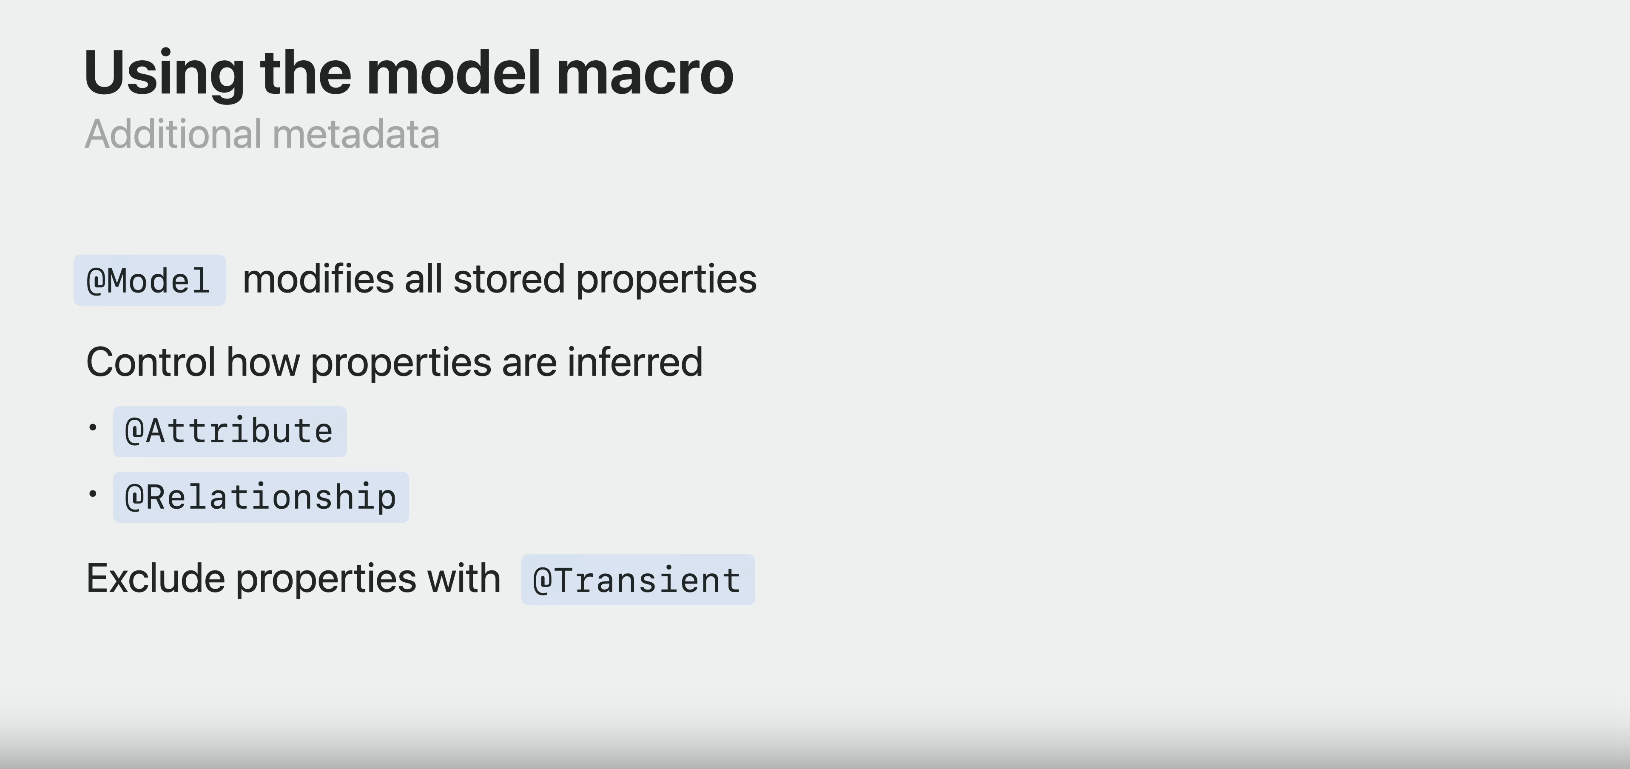
@Attribute 매크로를 사용하여 모델의 프로퍼티에 속성을 부여하는 것도 가능합니다.
1
2
3
4
5
macro Attribute(
    _ options: Schema.Attribute.Option...,
    originalName: String? = nil,
    hashModifier: String? = nil
)
@Attribute 매크로의 구조입니다. 이 @Attribute 매크로의 옵션에 사용할 수 있는 것에는 다음과 같은 것들이 있습니다.
- allowsCloudEncryption: 프로퍼티의 값을 암호화하여 저장
- ephermeral: 이 프로퍼티의 변경을 추적하지만 보존하지는 않음
- externalStorage: 프로퍼티의 값을 모델 스토리지에 인접한 바이너리 데이터로 저장
- preserveValueOnDeletion: 컨텍스트가 모델을 삭제했을 때, 프로퍼티의 값은 히스토리에 보존
- spotlight: Spotlight 검색 결과에 나타날 수 있도록 프로퍼티의 값을 인덱싱
- unique: 같은 타입 내 모든 모델에 대하여 이 프로퍼티의 값이 유일하다는 것을 보증
예를 들어, 만약 위에서 작성한 Item 모델이 완전히 유일한 값인 id를 갖게 한다고 하면, 다음과 같이 코드를 작성할 수 있습니다.
1
2
3
4
5
6
7
8
9
10
11
12
import Foundation
import SwiftData

@Model
final class Item {
  	@Attirbute(.unique) var id = UUID() // Attirbute
    var timestamp: Date

    init(timestamp: Date) {
        self.timestamp = timestamp
    }
}
@Relationship을 통한 관계형 데이터
SwiftData에서는 각 모델 간 관계를 설정하기 위해 @Relationship 매크로를 사용합니다. 예를 들어, Item 모델에 태그를 붙이는 Label 모델을 추가하여 두 모델 간의 관계를 설정해보겠습니다.
Label 모델 생성
먼저, Label 모델을 만들어주고, 해당 모델에 labelName: String 프로퍼티를 추가합니다. 이는 Item 모델에 태그를 붙일 수 있도록 구성된 필드입니다.
1
2
3
4
5
6
7
8
9
10
11
import Foundation
import SwiftData

@Model
final class Label {
    var labelName: String

    init(labelName: String) {
        self.labelName = labelName
    }
}
이제 이 Label 모델을 Item 모델에 관계로 설정하겠습니다.
Item 모델에서 Relationship 설정
Item 모델에 Label 모델을 관계로 설정하기 위해 Label 타입의 프로퍼티를 옵셔널로 선언하고, 여기에 @Relationship 매크로를 붙여줍니다.
1
2
3
4
5
6
7
8
9
10
11
12
13
14
15
import Foundation
import SwiftData

@Model
final class Item {
    @Attribute(.unique) var id = UUID()
    var timestamp: Date

    // ↓ 이 부분
    @Relationship var label: Label?

    init(timestamp: Date) {
        self.timestamp = timestamp
    }
}
위와 같이 선언하면 Item은 하나의 Label과 관계를 가질 수 있습니다.
Inverse 관계 설정
일반적으로 Item에서 Label을 참조하는 경우뿐만 아니라, Label에서 Item을 참조하는 경우도 필요할 수 있습니다. SwiftData의 @Relationship 매크로는 이를 위해 inverse 옵션을 제공하여 양방향 관계를 설정할 수 있습니다.
Label 모델에 item이라는 프로퍼티를 추가하고, @Relationship 매크로에 inverse 옵션으로 해당 프로퍼티의 KeyPath를 지정하면 양방향 관계가 설정됩니다.
Label 모델에서 Inverse 설정
1
2
3
4
5
6
7
8
9
10
11
12
13
14
import Foundation
import SwiftData

@Model
final class Label {
    var labelName: String

    // Item 모델을 참조하는 프로퍼티
    var item: Item?

    init(labelName: String) {
        self.labelName = labelName
    }
}
Item 모델에서 Inverse 옵션 설정
마지막으로 Item 모델의 @Relationship 매크로에 inverse 옵션을 설정합니다.
1
2
3
4
5
6
7
8
9
10
11
12
13
14
15
import Foundation
import SwiftData

@Model
final class Item {
    @Attribute(.unique) var id = UUID()
    var timestamp: Date

    // ↓ 이 부분
    @Relationship(inverse: \Label.item) var labels: [Label]?

    init(timestamp: Date) {
        self.timestamp = timestamp
    }
}
이렇게 설정하면 Item과 Label 간 양방향 관계가 형성됩니다. Item 모델에서 labels를 통해 관련된 Label들을, Label 모델에서 item을 통해 관련된 Item을 참조할 수 있습니다.
ModelContainer 설정 및 사용
SwiftData를 사용해 모델을 스키마로 설정하려면 ModelContainer를 구성해야 합니다. SwiftData는 ModelContainer 설정을 쉽게 할 수 있도록 .modelContainer라는 modifier를 제공하며, 일반적으로 앱의 엔트리포인트인 App 구조체에 작성합니다.
1. App 구조체에 ModelContainer 설정
ModelContainer는 주어진 스키마에 따라 데이터베이스를 생성하고, 디스크 저장 및 iCloud 동기화 등의 역할을 담당합니다. 앱에서 사용할 모든 모델들을 스키마로 묶고 이를 ModelContainer에 전달합니다.
1
2
3
4
5
6
7
8
9
10
11
12
13
14
15
16
17
18
19
20
21
22
23
import SwiftUI
import SwiftData

@main
struct SwiftDataExampleApp: App {
    var modelContainer: ModelContainer = {
        let schema = Schema([Item.self, Label.self]) // 사용 모델 스키마 정의
        let modelConfiguration = ModelConfiguration(schema: schema, isStoredInMemoryOnly: false)

        do {
            return try ModelContainer(for: schema, configurations: [modelConfiguration])
        } catch {
             fatalError("Could not create ModelContainer: \(error)")
        }
    }()

    var body: some Scene {
        WindowGroup {
            ContentView()
                .modelContainer(modelContainer)
        }
    }
}
2. ModelContainer의 구성 요소
Schema 정의
모델을 ModelContainer에 추가하기 위해 먼저 사용 모델들의 스키마를 정의합니다.
1
let schema = Schema([Item.self, Label.self])
ModelConfiguration 생성
ModelConfiguration을 통해 모델의 관리 규칙을 설정합니다. 이 예제에서는 isStoredInMemoryOnly 옵션을 false로 설정하여 데이터를 디스크에 저장하도록 지정합니다. 추가적으로, CloudKit 동기화를 설정할 수 있는 cloudKitDatabase 등의 옵션도 있습니다.
1
let modelConfiguration = ModelConfiguration(schema: schema, isStoredInMemoryOnly: false)
ModelContainer 생성
앞서 설정한 스키마와 설정을 사용하여 ModelContainer를 생성합니다. 만약 오류가 발생하면 앱이 종료되도록 fatalError로 처리할 수 있습니다.
1
2
3
4
5
do {
    return try ModelContainer(for: schema, configurations: [modelConfiguration])
} catch {
    fatalError("Could not create ModelContainer: \(error)")
}
3. View에서 ModelContainer 사용
설정된 modelContainer를 .modelContainer modifier를 통해 View에 전달하면, View에서 ModelContext를 Environment를 통해 받아와 사용할 수 있습니다. 이렇게 설정하면 SwiftUI View 내에서 데이터베이스와 상호작용할 수 있습니다.
1
2
3
4
5
6
7
8
9
import SwiftUI

struct ContentView: View {
    @Environment(\.modelContext) var modelContext

    var body: some View {
        Text("Hello, world!")
    }
}
CRUD
1. 데이터 읽기
SwiftData는 SwiftUI에서 저장된 데이터를 쉽게 쿼리할 수 있도록 @Query 매크로를 제공합니다. 예를 들어, Item 모델 데이터를 가져오려면 아래와 같이 @Query를 사용할 수 있습니다.
1
@Query var items: [Item]
필요에 따라 Predicate와 SortDescriptor를 사용하여 데이터를 필터링하거나 정렬할 수 있습니다. 예를 들어, name에 “apple”이라는 단어가 포함된 Item을 dateAdded 기준으로 오름차순으로 정렬하여 다음과 같이 불러올 수 있습니다.
1
2
3
4
5
@Query(
    filter: #Predicate<Item> { $0.name.contains("apple") },
    sort: [SortDescriptor(\.dateAdded, order: .forward)]
)
var items: [Item]
또한, 코드 상에서 데이터를 직접 쿼리해야 할 경우, FetchDescriptor를 사용할 수 있습니다.
1
2
3
4
let predicate = #Predicate<Item> { $0.name.contains("apple") }
let sort = [SortDescriptor<Item>(\.dateAdded, order: .forward)]
let descriptor = FetchDescriptor<Item>(predicate: predicate, sortBy: sort)
let items = try modelContext.fetch(descriptor)
2. 데이터 삽입
modelContext.insert(_:) 메서드를 사용하면 데이터를 간단히 삽입할 수 있습니다. 먼저 Item 인스턴스를 생성한 다음, insert 메서드를 호출하여 저장합니다.
1
2
let item = Item(name: "New Item", dateAdded: Date())
modelContext.insert(item)
관계 데이터 삽입
예를 들어, Item과 관계를 맺는 Label 모델이 있는 경우, Label을 생성하여 Item의 labels 속성에 추가한 뒤 insert를 호출합니다.
1
2
3
4
var item = Item(name: "New Item with Label", dateAdded: Date())
item.labels = [Label(name: "Important")]

modelContext.insert(item)
3. 데이터 수정
데이터 수정은 Item 인스턴스를 직접 수정하여 이루어집니다. @Model 매크로 덕분에 Observable 프로토콜이 자동 적용되므로, 데이터 변경이 SwiftUI View에 자동으로 반영됩니다.
1
2
3
4
5
var item = Item(name: "Editable Item", dateAdded: Date())
modelContext.insert(item)

// 수정
item.name = "Updated Item Name"
4. 데이터 삭제
데이터 삭제는 ModelContext의 .delete(_:) 메서드를 통해 수행됩니다.
1
2
3
4
5
var item = Item(name: "Deletable Item", dateAdded: Date())
modelContext.insert(item)

// 삭제
modelContext.delete(item)
Refer.
포스트에 틀린 부분이 존재할 수 있습니다. 발견 시 댓글로 알려주시면 확인 후 수정하도록 하겠습니다!


